Description
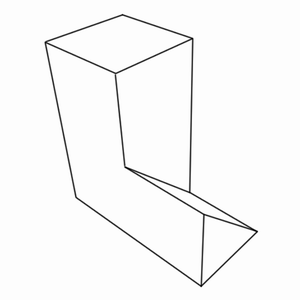
In the web presentation, the Perspective Taking test was introduced to twins as an activity called "Preparing for battle", with the following text: "To arms! We are close to finding out if the Gem of Light really exists or is it merely an old legend. Until then we need to bring out the heaviest weapons known to our kind. Brave men risked their lives to bring us the parts to make the biggest cannon in the whole Kingdom. Again we call upon your skills to assemble it!" This text was accompanied by the image below:
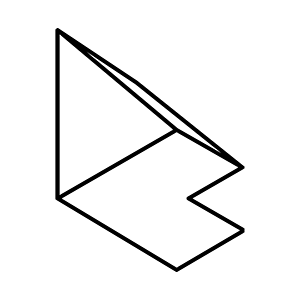
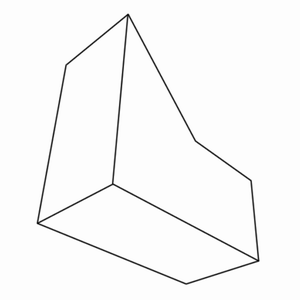
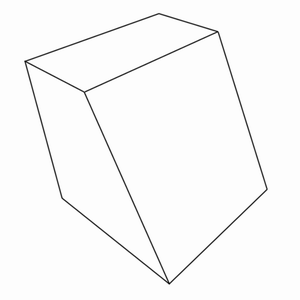
The test itself consisted of a practice item followed by 15 scored test items. Each item comprised two images, arranged right and left, both depicting the same 3-dimensional, irregular polygonal object, but viewed from two different angles. In the image on the left, the object was shown surrounded by a larger cube, described in the practice item as a "glass box" around the object. Twins were asked to respond by clicking on one of the eight corners of this cube in the left-hand image. Because it was clickable, the left-hand image can be thought of as the response image. The aim was to select the cube corner that would give a view of the object that would match the view shown in the right-hand image. On clicking on the image of the cube, the response was immediately submitted to the web server, and the next item was presented. A full table of test items, including images, can be found below under the heading Table of Test Items.
The test was preceded by an instructions page, which is reproduced here:
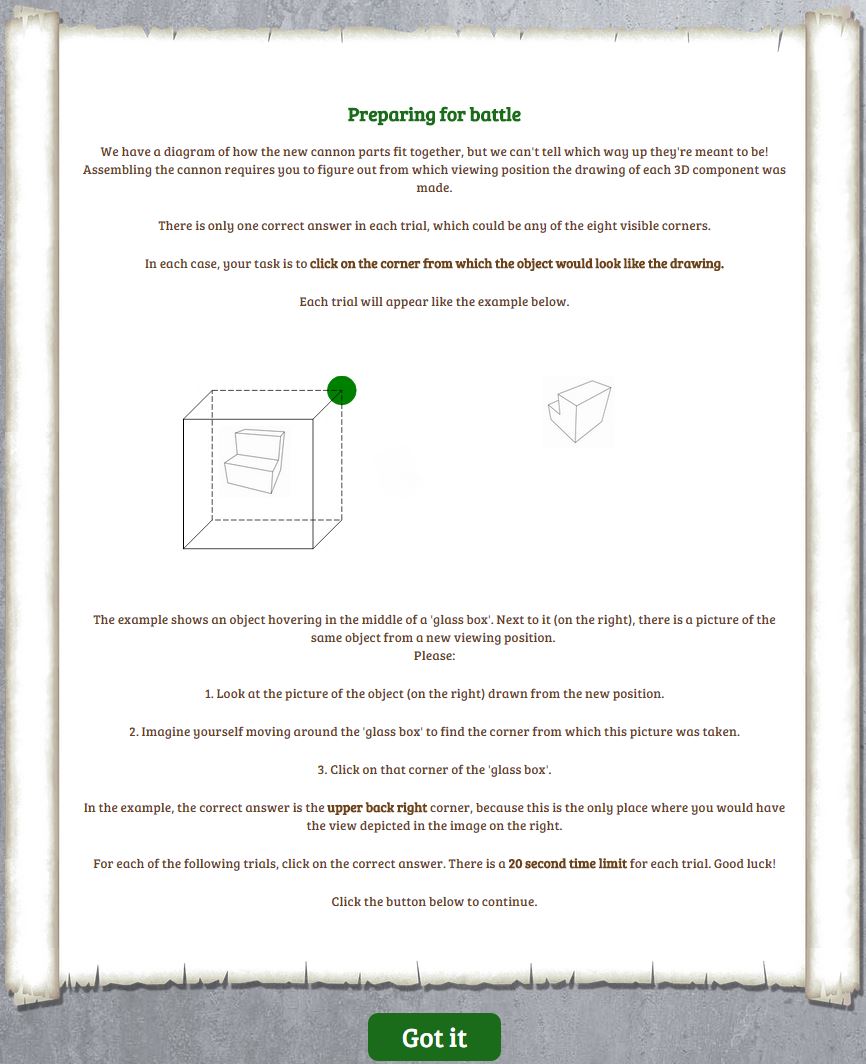
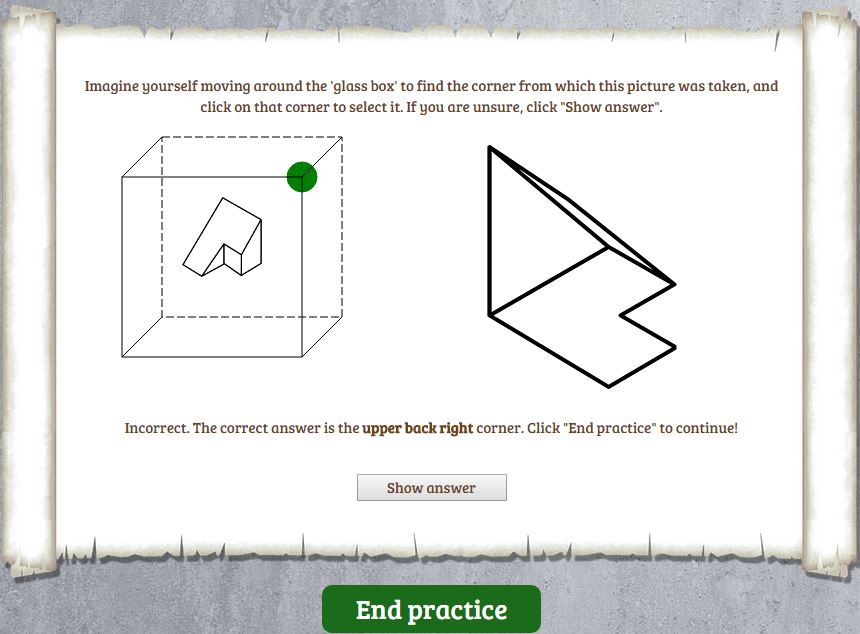
The instructions page was followed by a single practice item. The practice item was optional: a twin could skip the practice item, attempt it once, or attempt it many times if they wished. On each attempt of the practice item, the twin was presented with feedback to say whether they chose the correct response, and what the correct response should have been. No such feedback was given after the main test items. No data for the practice item is included in the dataset. The practice item is reproduced here with an example response, illustrating the nature of the items in general. Note that in this image, the green circle represents the corner of the cube that was clicked, and in this example this was an incorrect response
The 15 main test items (subject to a discontinue rule) followed immediately after the practice item. The items were presented in numerical item number order, without any branching. Each item had a 20 second time limit, and a count-down timer was shown at the top-left corner of the page for every item, as a reminder of this.
Twins were encouraged to complete the test in one session if possible. Hence, no "come back later" button was placed on screen at any stage. However, it was possible to halt a test, by closing the browser or turning off the computer. After halting the test, it was possible for a twin to resume at a later time or date by logging in again: they would be presented with the next item to be attempted.
An individual test item could be compromised by an interruption after the item had started and before it had ended. Interruptions might result from twin actions such as closing the browser, or clicking the browser's back or refresh buttons. Interruptions might also be caused by random events such as computer crash or loss of internet connection. Such events seem to have been rare. The effect of interruption was to forfeit the item with zero score. On logging in at a later time after an interrupted item, a twin would be presented with the following item of the test.
Web Test Rules
- Scoring
For each of the 15 items, the correct response is given a score of 1, and any of the seven incorrect responses is given a score of 0. The practice item does not contribute to the scoring. The maximum total score for the test is 15. - Discontinue rule
Discontinue the test after incorrect responses (scoring zero) in any five consecutive items. This rule applies from item 1 onwards; it is therefore possible to discontinue the test after item 5 at the earliest. - Timeout rule
A timeout of 20 seconds applies to each item. After 20 seconds with no response, the item is forfeited with zero score, and a "next item" screen appears. It was possible to pause indefinitely on the "next item" screen before resuming at the next item in the test.
Dataset Item Variables
The item variables relating to this test, as listed in the table below, were generated automatically by programs on the web server. For the sake of completeness, the table also lists derived variables relating directly to this test (rckptdata1/2, rckptstat1/2, rckpttime1/2, rckpttmn1/2). Note that the dataset only includes data for completed tests. If a twin started the test but left it unfinished, then the data for that test were deleted from the dataset.
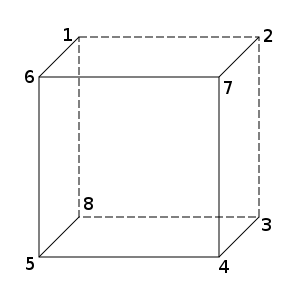
In the item responses, the 8 corners of the cube were coded as shown in this
diagram:
Note that the item response variables have been recoded where
appropriate with values -1, -2 and -4 to denote item timeout, discontinued or
interrupted respectively. See the
web data cleaning page for
further details. The start and end dates/times have not been retained in the
dataset.
| Variables | Explanation | Values |
|---|---|---|
| rckptdata1/2 | Data flag: are test data present? [DERIVED VARIABLE] | 0=no, 1=yes |
| rckptstat1/2 | Test status: was the test completed? [DERIVED VARIABLE] | 0=not started, 1=started but not finished, 2=finished successfully, 3=compromised by loss of data, 4=compromised by random responses |
| rckptsttm1/2 | Start date and time of the test [not in dataset] | Date-time values |
| rckptentm1/2 | End date and time of the test [not in dataset] | Date-time values |
| rckpttime1/2 | Time interval from start to end of the test [DERIVED VARIABLE] | Minutes (decimal values) |
| rckpttmn1/2 | Mean item response time [DERIVED VARIABLE] | Seconds (decimal values) |
| rckptXXan1/2 | Test item response for item XX* | 1, 2, 3, 4, 5, 6, 7 or 8 (denoting the corner of the cube selected), -1=timed out, -2=discontinued, -4=item interrupted |
| rckptXXsc1/2 | Test item score for item XX* | 0=incorrect, 1=correct |
| rckptXXrt1/2 | Test item response time for item XX* | Milliseconds (integer values) |
| rckpttot1/2 | Test total score: total score for all 15 items | 0 to 15 (integer values) |
| rckpttotp1/2 | Test total score expressed as a percentage | 0 to 100 (decimal values) |
* XX denotes the item number, 01 to 15
Table of Test Items
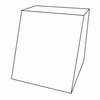
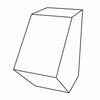
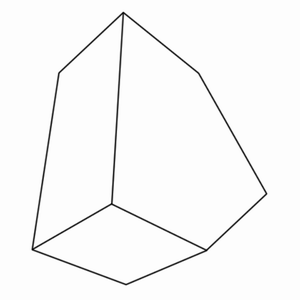
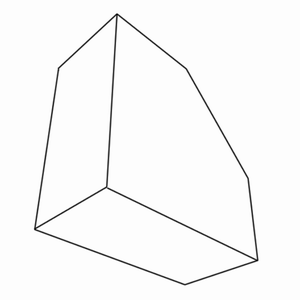
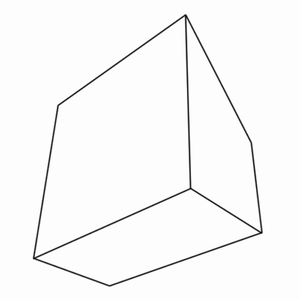
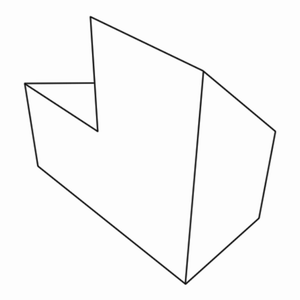
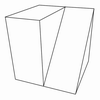
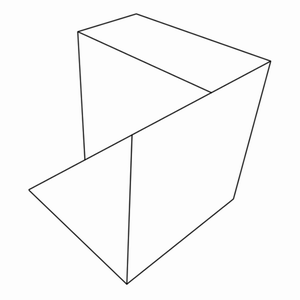
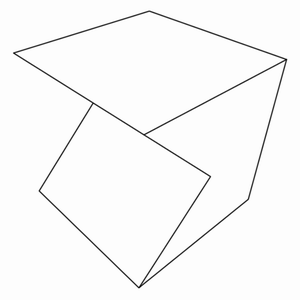
The test items are tabulated below, for the practice item and the 15 main test items. In each case, the information shown includes the item number, the response image (omitting its surrounding cube) on the left, the second image on the right, and the correct response. The correct response is shown by a coded number (1-8) representing a corner of the surrounding cube; this corner is additionally described in words (e.g. "front top left").
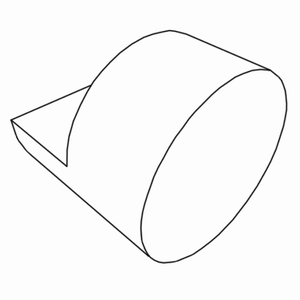
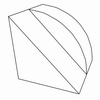
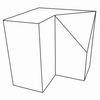
Practice item
Correct response was 8 (back bottom left of surrounding cube).
(was depicted without the cube).
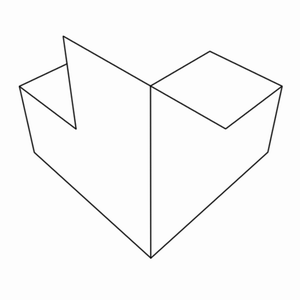
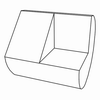
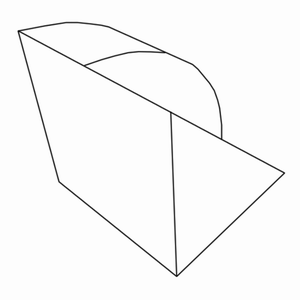
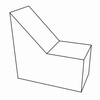
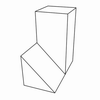
Item 1
Correct response was 1 (back top left of cube).
(was depicted without the cube).
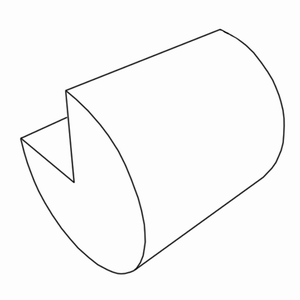
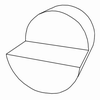
Item 2
Correct response was 2 (back top right of cube).
(was depicted without the cube).
Item 3
Correct response was 2 (back top right of cube).
(was depicted without the cube).
Item 4
Correct response was 6 (front top left of cube).
(was depicted without the cube).
Item 5
Correct response was 5 (front bottom left of cube).
(was depicted without the cube).
Item 6
Correct response was 6 (front top left of cube).
(was depicted without the cube).
Item 7
Correct response was 8 (back bottom left of cube).
(was depicted without the cube).
Item 8
Correct response was 8 (back bottom left of cube).
(was depicted without the cube).
Item 9
Correct response was 5 (front bottom left of cube).
(was depicted without the cube).
Item 10
Correct response was 1 (back top left of cube).
(was depicted without the cube).
Item 11
Correct response was 2 (back top right of cube).
(was depicted without the cube).
Item 12
Correct response was 2 (back top right of cube).
(was depicted without the cube).
Item 13
Correct response was 3 (back bottom right of cube).
(was depicted without the cube).

Item 14
Correct response was 5 (front bottom left of cube).
(was depicted without the cube).

Item 15
Correct response was 6 (front top left of cube).
(was depicted without the cube).