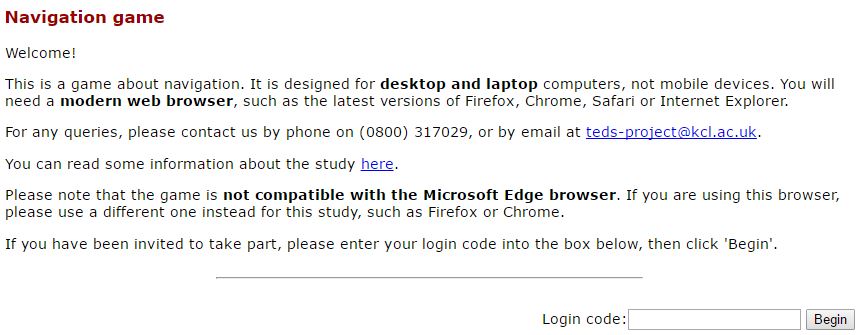
The Login Page
Twins entered the Navigation study web site using the link sent to them - the link is not given here as it is no longer active. An image of the welcome/login page is shown below. As shown, twins were given a very brief introduction with some advice about which devices and browsers should or should not be used, together with a link to the information sheet (pdf). They were asked to log in, using the unique "login code" sent to them.
On logging in for the first time, twins were presented with the consent page.
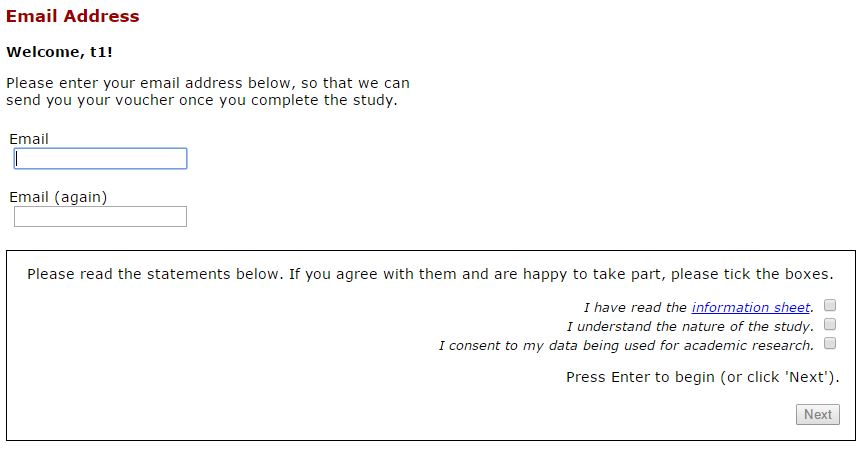
The Consent Page
An image of the consent page is reproduced below, as it would have appeared to twins after first logging in (note that the input controls do nothing here). In the second line, "t1" would be replaced by the twin's name as recorded in the TEDS database and linked to the twin's unique login code. To complete the consent form, a twin was required to enter an email address twice, tick the three boxes and then click on the "Next" button. The Navigation game would then be started in the browser, as described below.
The login page incorporated validation rules such that the 3 boxes had to be ticked before the "Next" button would become active. Similarly, the email boxes could not be left blank, and the text in the 2nd email box had to match the text in the 1st email box. Hence, it was necessary to complete the consent form correctly before it could be submitted and the game started.
Each twin was required to complete the consent form once and only once, before being able to continue with the Navigation web activities. If a twin logged in but did not complete the consent form, then the consent form would be presented again at the next login. There was no way of by-passing the consent form to continue with the actual tests. After a twin had completed the consent form, it would not appear again on subsequent logins.
Starting the game
Immediately after the completion of the consent form, or again immediately after a subsequent login if continuing with the game, twins were asked to choose which version of the game they would use. The choice of the appropriate version was highly dependent on the type of browser being used. An image of this page is shown below. The web program attempted to detect the browser being used by the twin (in this case it was Chrome), and asked the twin to confirm this in making their choice.
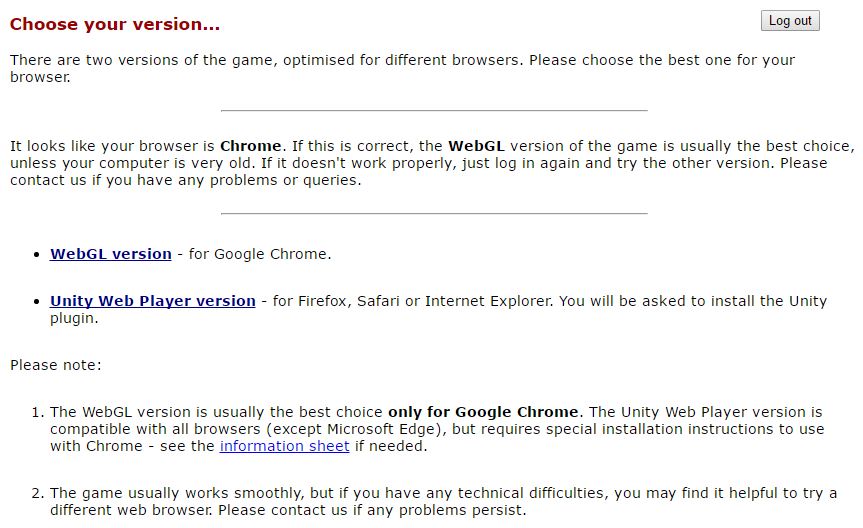
The 'game' (battery of tests) required the use of a browser software plugin called Unity. Unfortunately, it was found that the optimum plugin version (called Web Player) would not function correctly in all browsers. Hence, an alternative plugin version (called WebGL) was required in some cases, specifically in the Chrome browser. In the page pictured above, the two plugin versions were described as alternative versions of the game. Unfortunately, the game was prone to technical difficulties with some browsers on some platforms, depending also on the plugin chosen. In case of problems, twins were advised to log in again using a different browser, or using the same browser but choosing the other game version.
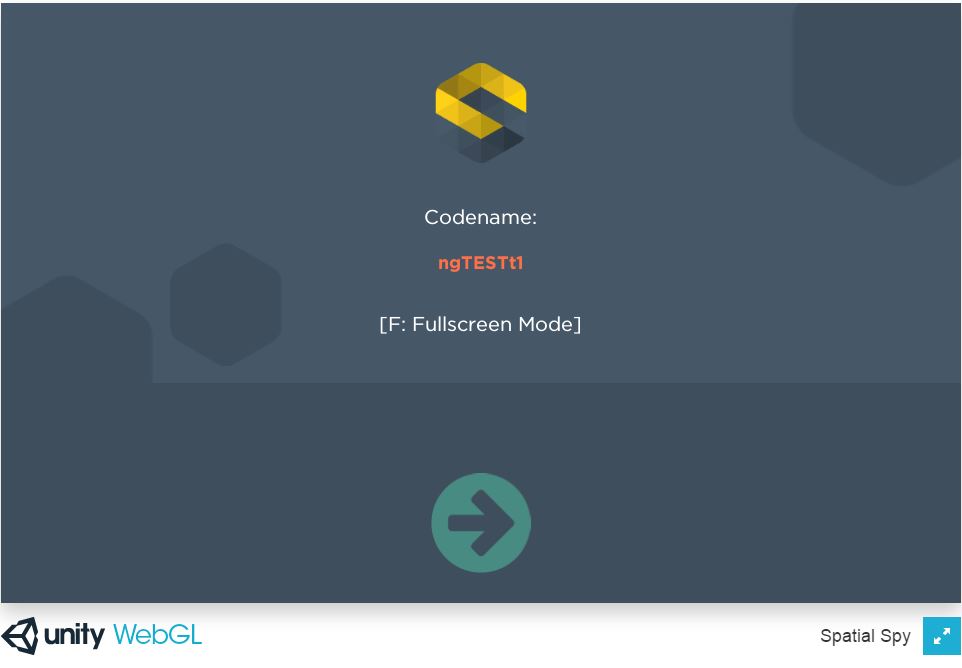
On clicking the appropriate link, the web browser would attempt to load the chosen plugin and start the game. If successful, a screen like the one below would appear. The codename (in this case 'ngTESTt1') was the login code used by the twin. This screen merely confirms that the plugin has loaded (showing the plugin name bottom left) and that the game is ready to start. The term "Spatial Spy" bottom right refers to the name of the game software as used in the web site.
On clicking the arrow, the following screen appeared:

Here, twins were asked to click to confirm whether they were using a mouse or a laptop trackpad. This choice (along with the plugin version and browser used) were automatically recorded in the raw data for reference. On clicking either mouse or trackpad, the following screen appeared.
Training
This screen represents the start of the training session.
On clicking the "start training" button, a training or practice session would begin. The training was designed to make twins familiar with the virtual world in which the game would be played, and to give them practice in the various types of mission they would have to attempt in the main test. The image below shows an example screen from the training session:

This image illustrates several features of the game. The view shows a selection of the landmarks on either side of one of the streets of the virtual town. Near the bottom of the screen, with a transparent green background, is some text giving the current instructions. The red dot in the centre of the screen shows the current direction of view. In missions requiring movement around the streets (Orientation Landmarks, Orientation Direction and Map Reading), if the mouse button is held down, the participant moves (at street level) in the direction of the red dot in the virtual world. Moving the mouse to left or right changes the direction of view, and if the mouse button is down it also changes the direction of movement, for example in order to turn into a side street. Moving the mouse up or down changes the viewpoint up towards the sky (as shown here) or down towards street level.
The compass image top-left shows the corresponding direction of the view in terms of north, south, east and west. The direction is also shown by the yellow dot on the map top-right: this yellow dot has a tiny arrow (pointing downwards in this example) indicating the direction of view. The compass appears in some but not all types of mission in the test battery (it appears in all Map Reading missions and in some Orientation Direction missions).
A street map of the virtual world is shown top-right. After the training session, the map only re-appears for Map Reading missions, where the aim is to reach a target destination shown on the map. The red/orange icon (described in the instruction text as a "red pinpoint") points to the destination, while the yellow dot indicates the twin's current (virtual) position. Note that the map never shows any additional information: it shows the streets represented as a simple grid, without landmarks, street names or other visual clues. The four sides of the map represent the limits of the virtual world; twins were not able to move outside this area. The orientation of the map never changes - north is always at the top.
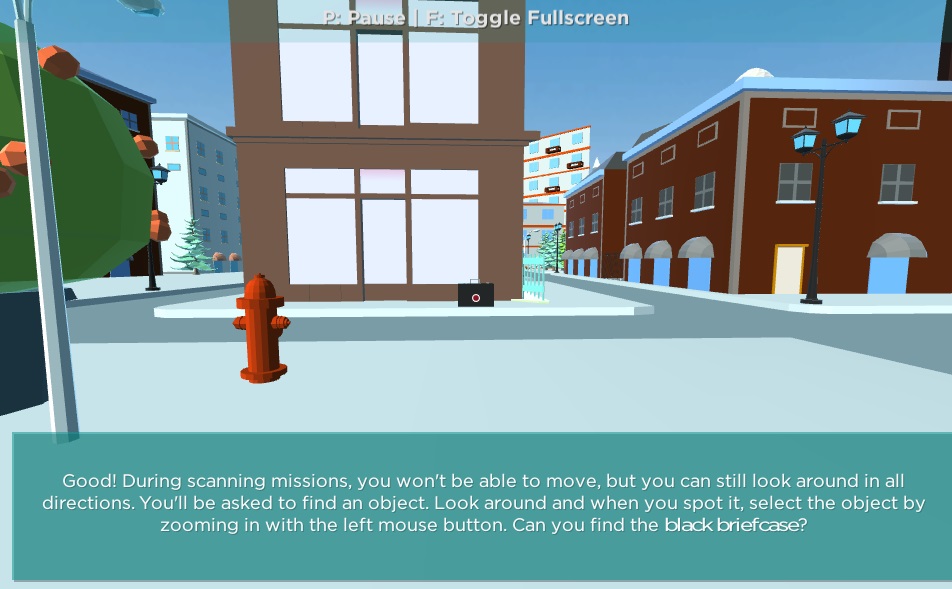
The image below is also from the training session. This illustrates another type of mission in which the aim is to find and click on a target (in this case a black briefcase). By moving the mouse, the red dot is placed over the target before clicking. In these types of mission (Scanning and Perspective), as explained in the instruction text in the image, the participant's position in the virtual world is fixed at street level, but the direction of view (left and right, up and down) can be changed by mouse movement.
Having completed the training session, twins were given the option of either repeating it for practice or starting the main tests. Having completed training once, if twins logged in again at a later time or date they were not required to complete the training again.
More details descriptions of the different mission types can be found by clicking the links above. A short demonstration video (on an external YouTube page) illustrates the nature of the activities.